

 |
||||||||
Neck Through series Features and Specifications |
||||||||
|
GW Neck Through Basses are the ultimate in feel, balance, tone, and qualityI gave a great amount of time, energy and thought into the design of my neck through basses, drawing inspiration from many other great designs from other builders that I had seen and played. Ultimately, I had to design a bass that I would want to own and play. There were so many things to consider... I decided to approach the design process from what things would I want in a bass if I could have anything I wanted? Full access to the entire fingerboard was one must have. Sure, most of us bass players don't use the upper end of the fingerboard that much, but when we do we should be able to access it without hand strain or bulky neck joints to content with. So the lower horn had to be cut deep enough to give full access to the upper frets. Going along with this is a very smooth neck to body curve that fits in your hand just perfectly with no strain on your hand or wrist. |
||||||||
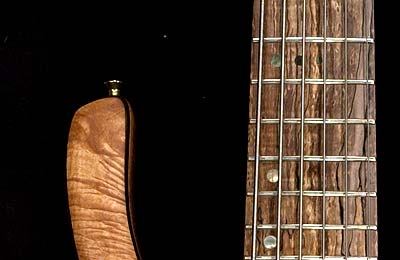
The Neck
A full 24 fret fingerboard on top of a comfortable, hand carved neck that is instantly familiar and all day or night playable for those
long studio sessions or live performances.
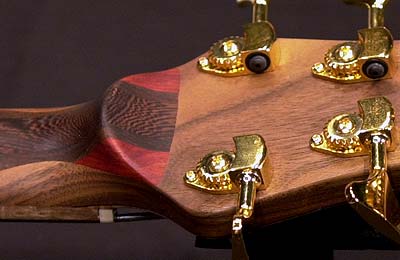
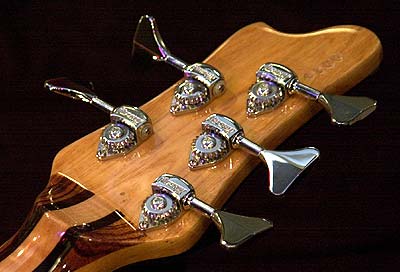
The edges of the fingerboard are slightly rolled over just a bit to give it that broken in feel. I also like a large volute where the
headstock meets the neck, so I've done a bit of an oversized volute for comfort and that "home position on a dark stage" feel.
|
||||||||
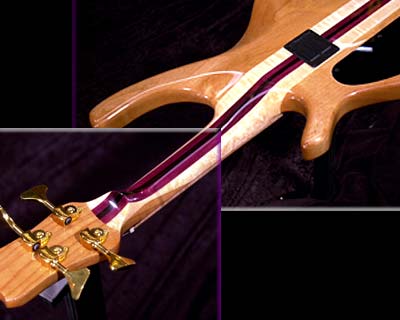
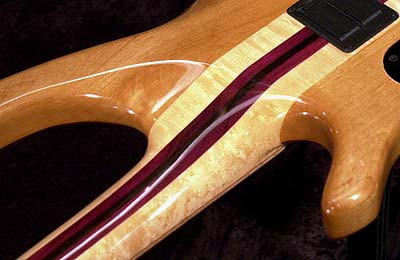
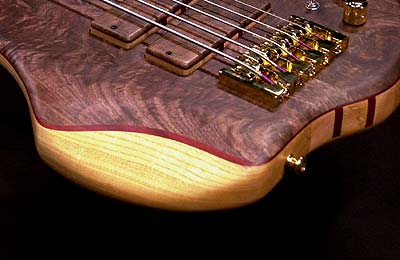
Comforable neck heel, full upper fret access, excellent comfort and balance
Full access to the upper end of the fingerboard thanks to the deeper lower cutaway, the very smooth neck to body curve for when the desire
to blow a mean solo takes you! The combination of the upper horn extending all the way to the 12th fret, the offset upper body wing allowing
for moving the other anchor for the strap towards the neck more, and the addition of Hipshot Ultralight Tuners makes for excellent balance
with no neck dive whatsoever.
|
||||||||
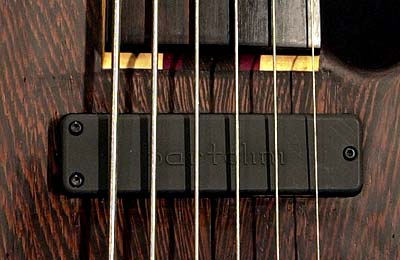
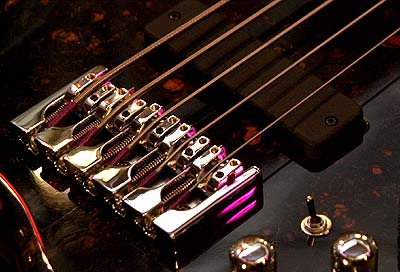
The Best Electronics & Hardware
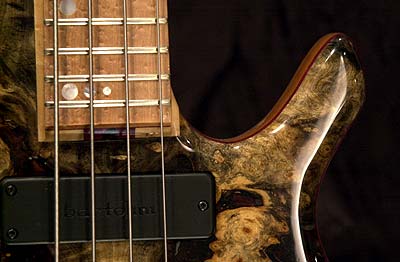
I use only the highest quality electronics and pickups for superb tone, flexibility and dependability. Bartolini dual coil pickups begin
the signal chain followed by the Aguilar OBP-3 three band preamp system setup in either the 9V or 18V configuration, and all top quality
potentiometers and other electronic hardware for worry free playing year after year.
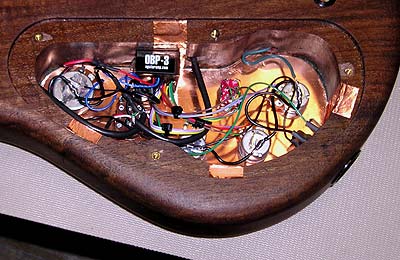
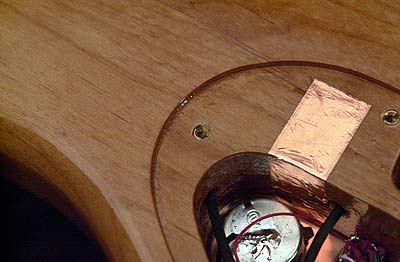
To shield the bass from hum, I start with a copper plate in the bottom of the control cavity. This plate also adds support to the wood of the top of the bass as well as shielding the bass from hum. Copper tape on the sides adds to the shielding, and foil tape on the control cavity cover finishes it off. The wires for the pickups and Aguilar Preamp are grouped together, and left a little long just in case you ever need to replace a potentiometer years down the road.
|
||||||||
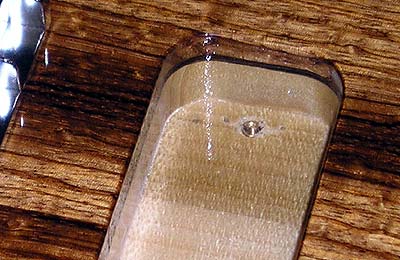
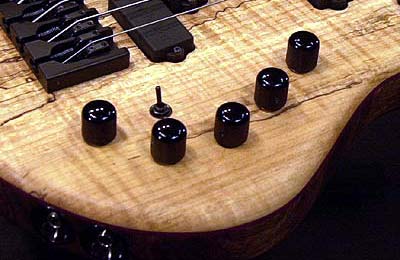
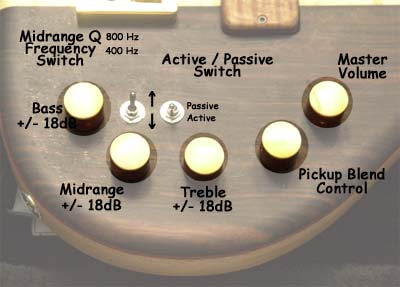
Details, details, details....Attention to detail is everything, right? I couldn't agree more and simply couldn't cut any corners. From the fully shielded control cavity that starts with a copper grounding plate to threaded brass inserts with allen key pickup height screws, every detail has been painstakingly seen to and taken care ofThe controls are easy to reach but out of "strike zone" so you can slap away or even bang out chords with a pick and not worry about hitting a knob. They're also laid out in an intuitive pattern for ease of use and a familiar feel, and with the midrange "Q" frequency select switch, the passive active switch and the 3 band EQ, the variety of tones available to you are limitless!
|
||||||||
Neck Through Series Price List
|
||||||||
"The Bass Kahuna TM", "GW Basses TM" and the "GW " logo are Trademark 2003
This site best viewed at a minimum resolution of 1024 x 768, and with IE 4.0 or higher, or NetScape 6.2 or higher
![]()